
Almost every patio quote gets compared on two things: the slab and the price. Both are the wrong place to look. By the time slabs go down, the job is nearly finished and everything that decides whether the patio is still flat in fifteen years has already happened.
Here is what actually sits under a patio, layer by layer, and what goes wrong when a layer gets thinned or skipped. If you are collecting quotes, this is the part worth asking about. For real figures, our guide to what a patio costs in Derby breaks the numbers down.
Layer 1: the excavation
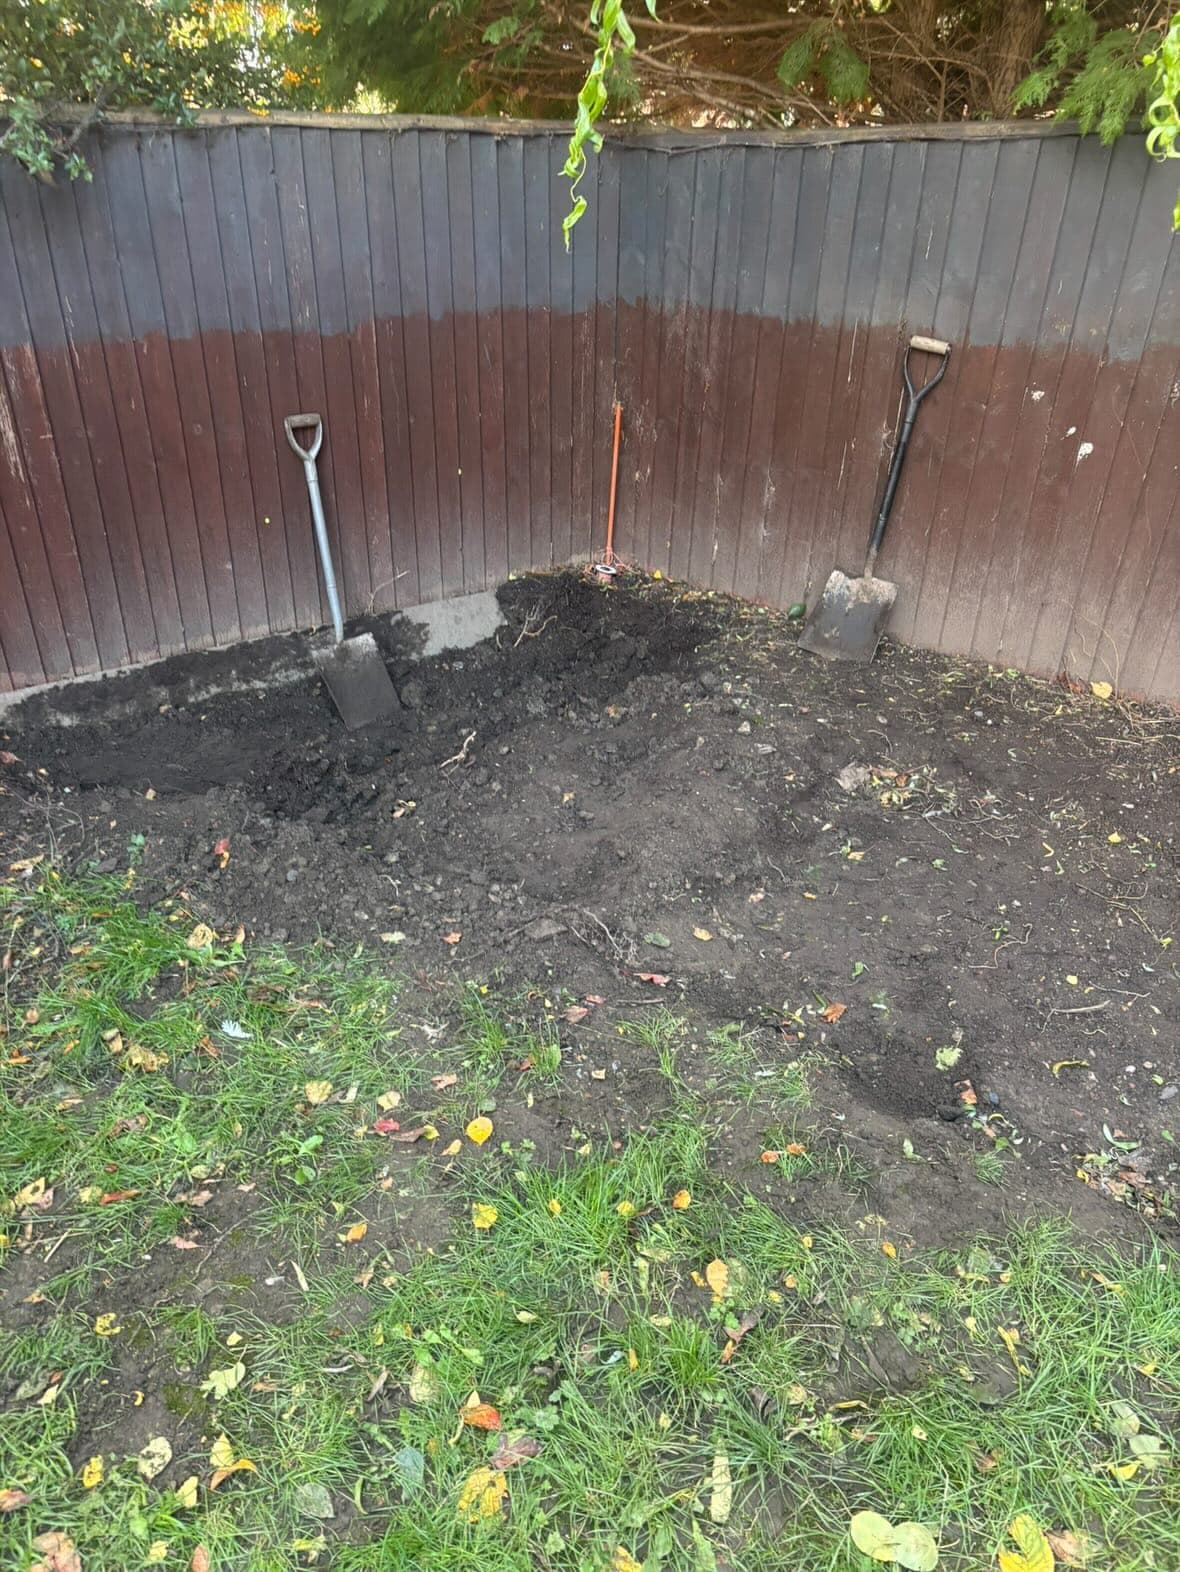
Everything starts with digging out, and how deep depends on what is going on top. Work backwards from the finished level: the slab, the mortar bed under it, and the sub-base under that. On a normal garden that adds up to somewhere between 175 and 225mm of excavation.
Two things get checked at this stage. The first is what you are digging down to. If the subgrade underneath is soft, waterlogged or full of old topsoil and roots, it has to come out, because a perfect sub-base built on porridge still moves. The second is the damp proof course on the house. Finished paving needs to sit at least 150mm below it, and getting that wrong is how a new patio ends up bridging the DPC and putting damp into the wall.
Layer 2: separation, where the ground needs it
On heavy clay or soft ground, a geotextile membrane goes between the subgrade and the stone. It is not a weed barrier, whatever it gets sold as. Its job is to stop the sub-base stone slowly punching down into soft clay and the clay working its way up into the stone, which over a few wet winters robs the sub-base of the very thing that makes it work.
Plenty of Derby and Derbyshire gardens sit on clay, so on our jobs this goes in more often than not.
Layer 3: the sub-base
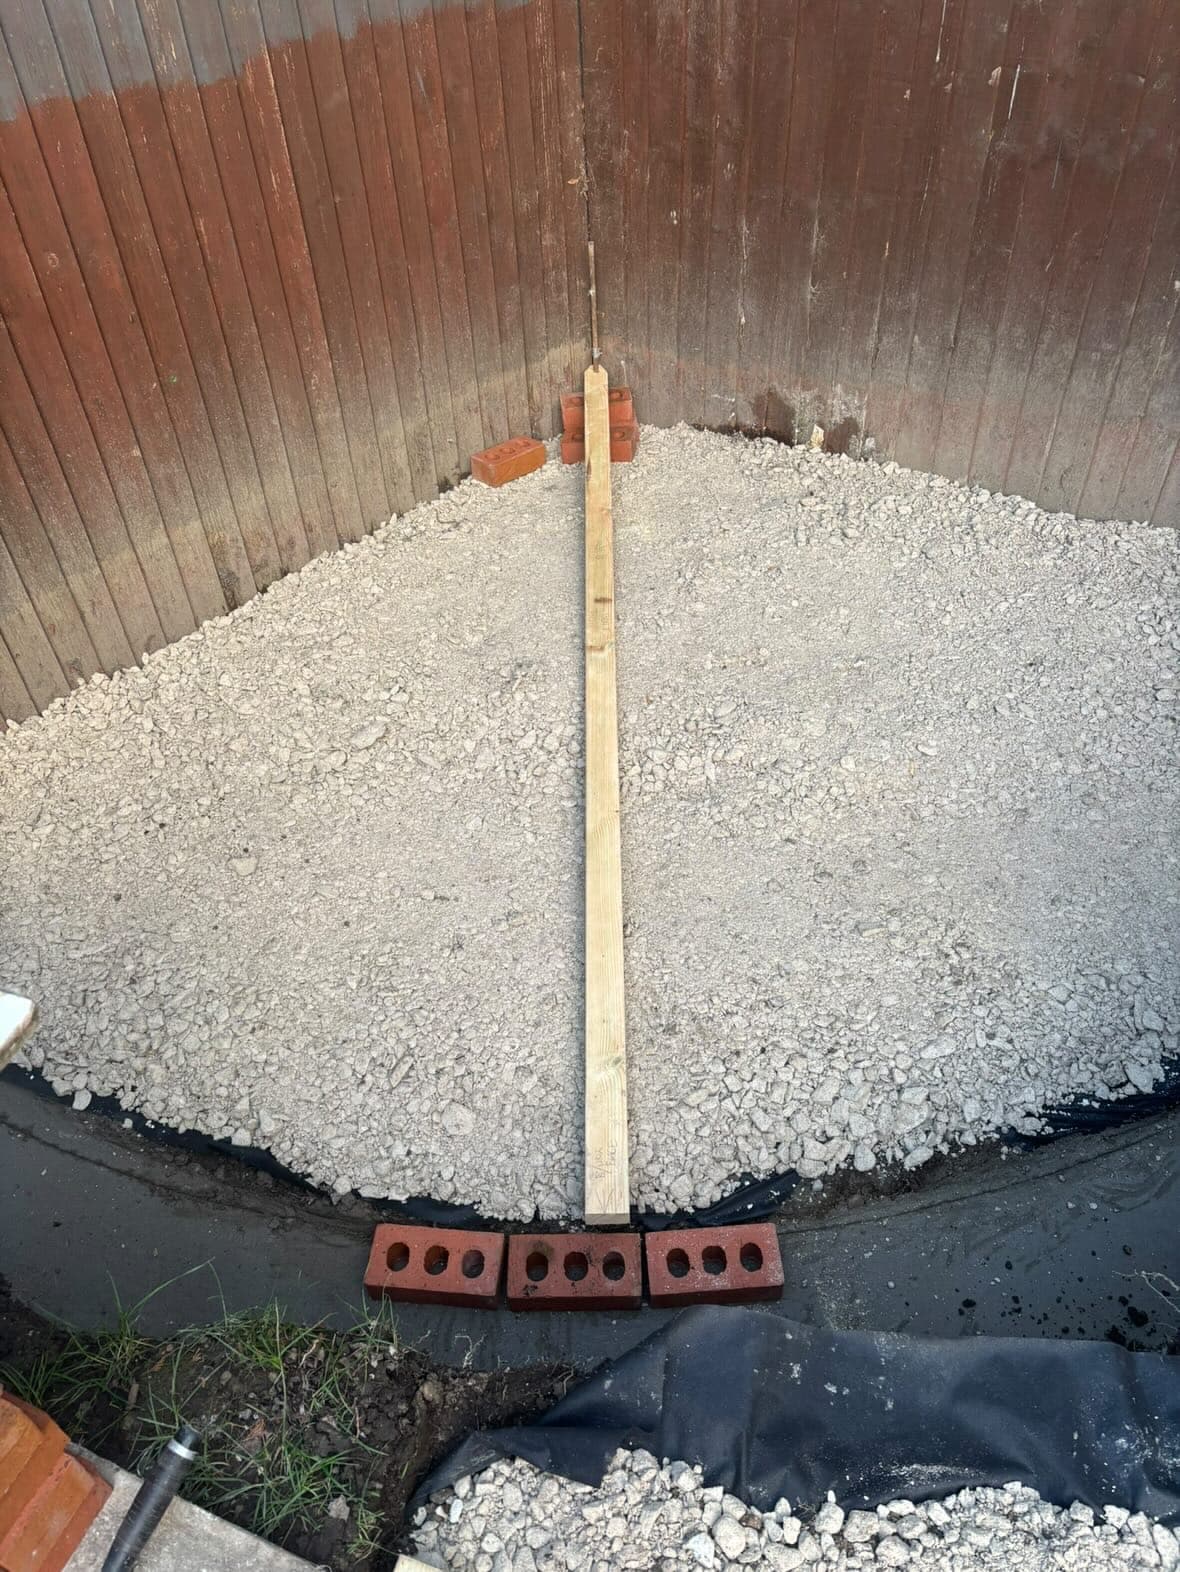
This is the layer doing the structural work, and it is the one that gets quietly reduced on cheap quotes. MOT Type 1 is the standard material: a graded mix of stone sizes that locks together tight when it is compacted, so load spreads sideways instead of punching straight down.
A patio wants 100 to 150mm of it once compacted. The critical word there is compacted, and the way it goes in matters as much as the depth:
- Laid in layers of no more than about 75mm
- Each layer whacked with a vibrating plate before the next goes on
- Slightly damp, so the fines bind rather than blow around
- Taken out past the edge of the finished paving, so the perimeter slabs are not standing on fresh air
Tip the whole lot in and run the plate over the top once and it looks identical on the day. It behaves completely differently two winters later.
Layer 4: the laying course
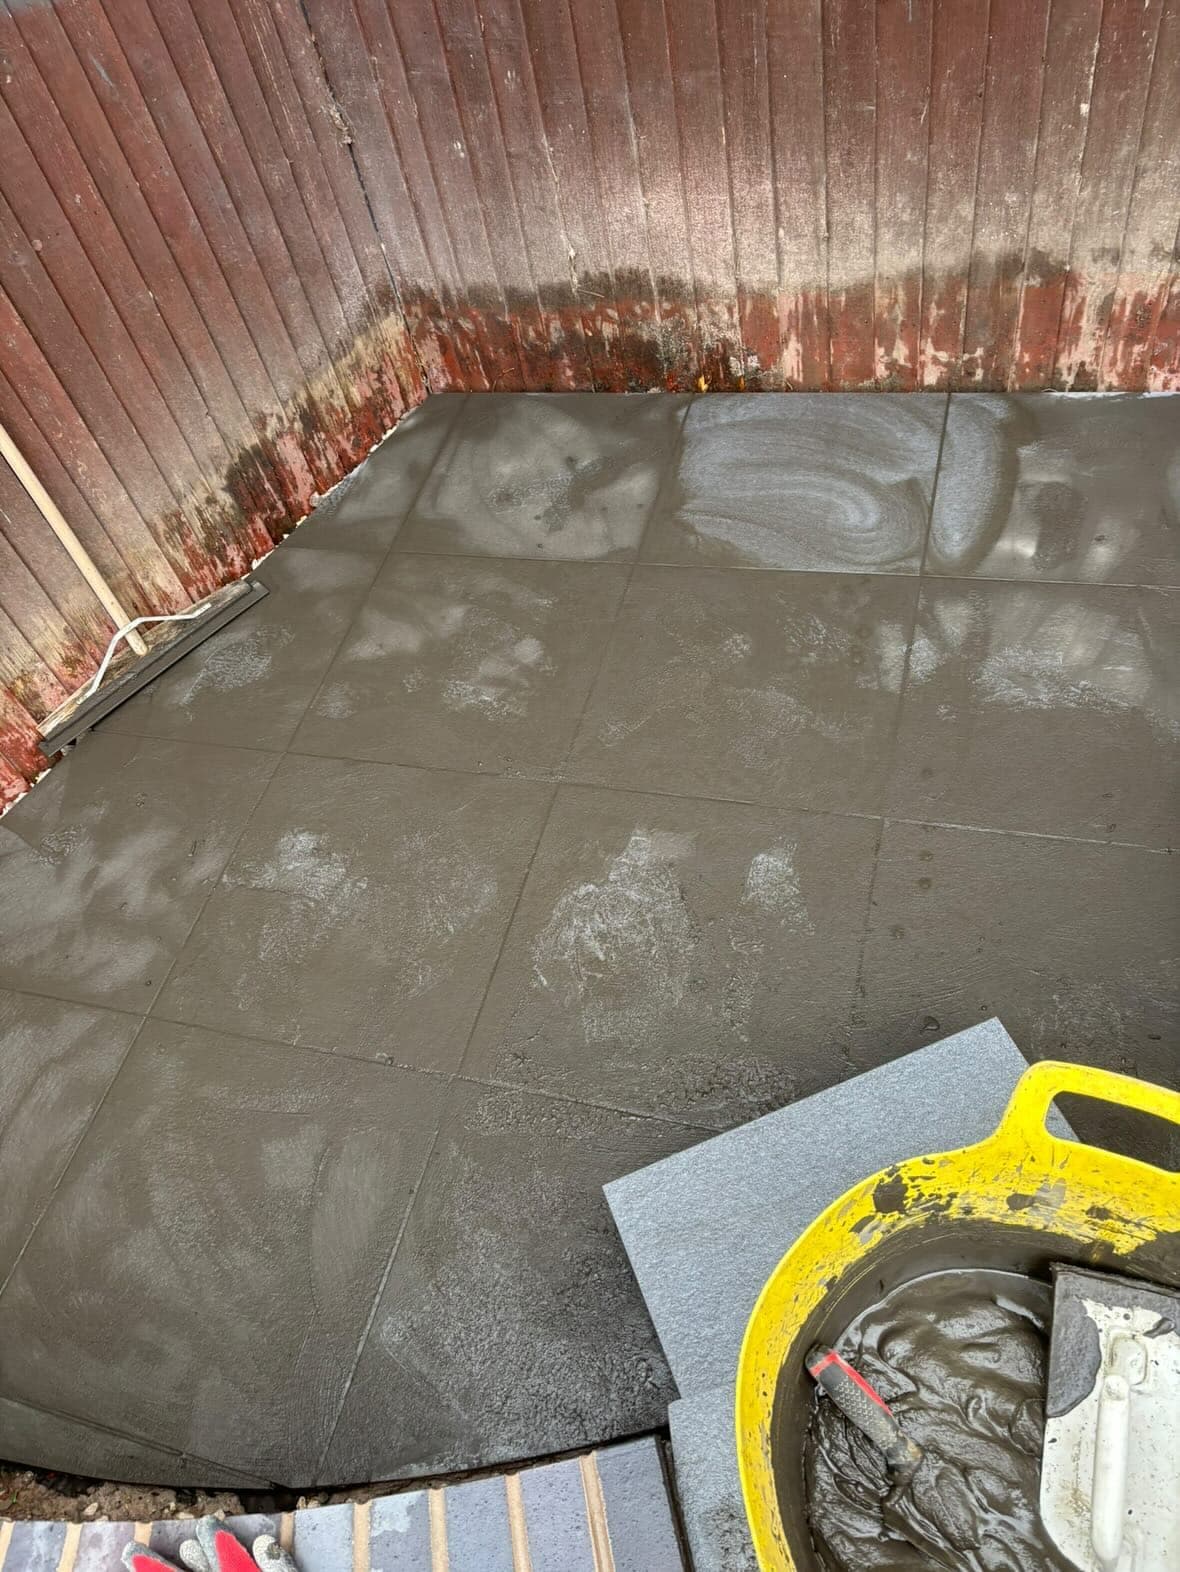
The mortar bed, usually 40 to 50mm of sharp sand and cement, is what the slabs actually sit on. This is where the single most common shortcut in the trade lives: spot-bedding, where each slab lands on five dabs of mortar, one in each corner and one in the middle.
It is faster and it uses a fraction of the material. It also leaves voids under every slab. Those voids fill with water, the water freezes, and the slab either cracks from underneath or starts rocking. Natural stone and porcelain both fail this way, and no amount of re-pointing fixes it, because the problem is the hole under the slab.
Every slab gets a full, wet bed and gets tapped down into it so there is nothing but mortar underneath. Porcelain needs one extra step: because it is dense and non-porous, the back of each slab is primed with an SBR slurry so the mortar actually bonds to it rather than just touching it.
Layer 5: falls, before anything is fixed
Water has to go somewhere, and the time to decide where is before the slabs are down. A patio wants roughly 1 in 80, about 12mm of drop per metre, running away from the house. You will not feel it walking on it and you will notice immediately if it is not there.
Where a garden has nowhere sensible to send the water, and enclosed courtyards and low-lying plots often do not, the answer is a channel drain or a soakaway built into the job. That gets designed in at the start, not bolted on after someone notices the puddle.
Layer 6: the joints
Pointing is the last layer and the one that takes the weather. The two normal options are a wet mortar point, worked in and struck properly, or a brush-in jointing compound. Both work when they are done right and both fail early when the joints are too narrow, too shallow or filled on a damp day.
Kiln-dried sand brushed into a patio joint is not pointing. It washes out, and once the joint is open, water gets under the slab and weeds get in from above. Our guide on stopping weeds between patio slabs goes into what to do when the joints have already gone.
Why the cheap quote is cheaper
Nothing above is exotic. It is just time and material, and both cost money. A quote that comes in noticeably under the others is usually buying its way there by taking a day off the groundwork: a thinner sub-base, no compaction between layers, dabs instead of a full bed, and sand in the joints.
None of that is visible on the day the job finishes. All of it shows up within a couple of winters, and by then the fix is lifting the patio and starting again.
So when you are comparing quotes, ask what depth of sub-base is included, whether slabs are laid on a full bed, and where the water is going. The answers tell you more than the slab choice ever will.
Getting it built properly
We build every patio across Derby and Derbyshire the way it is set out above, and the quote itemises it so you can see what you are paying for. Have a look at our patios and paving work, or get in touch and we will come and look at the ground first.